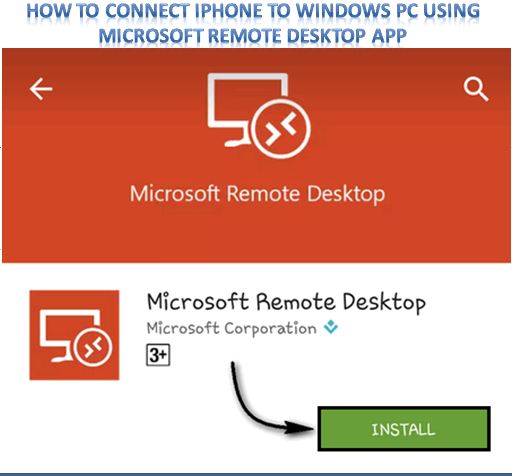
How to Connect iPhone to Windows PC Using Microsoft Remote Desktop App
As far as we all know the Apple operating systems, especially the iOS one does not go well with the Windows operating system. Some iPhone or iPad users might see errors and other technical issues while connecting to a PC. In such cases, the Remote Desktop App has got your back as it allows users to link their iPhone or iPad with the Windows-based PC without any issues at all. If you wish to transfer data and other essential things between your PC and your iOS device, then this article will help you out.
Microsoft Remote Desktop Features and Functions
- It is free and can be easily downloaded on iOS.
- With it, one can use your PC resources via the Remote Desktop Gateway.
- Connecting an iPhone and iPad to Windows PC
- Microsoft Remote Desktop is the best app to transfer files between iOS devices and Windows PC.
- It has a multitouch experience that works on the remote desktop protocol (RDP) as well as RemoteFX.
- It provides a protected connection for your data and apps.
- The app supports flawless video and audio streaming services.
- With this application, you could easily connect additional monitors as well as projectors to play a presentation on a large display.
Connecting Microsoft Remote Desktop for iOS
To get started with the Remote Desktop application on your device, you will have to g through these essential steps:
- Set Up the iOS device.
- Set Up the Windows 10 PC.
- Setting Up a Remote Desktop connection between your PC and iOS devices.
Now read and follow each step one by one on your devices in order to connect your iPhone or iPad to a PC remotely.
Step 1: Set Up the iOS Device
Follow the given below guidelines carefully to set up the Microsoft Remote Desktop app on your iPHone and iPad:
- Head to iTunes.
- Now search for Remote desktop client.
- Choose the most appropriate app from the result.
- Now install the app.
- When asked to add a Remote Resources or Remote Desktop, then do so accordingly.

Step 2: Set Up the Windows PC for the App
Before you get started with the remote app data transfer between your Windows PC and iOS device, you have to tweak a few things on your PC in order to accomplish this. See these guidelines to set up your PC for Remote Desktop app:
- Make sure that your PC is turned on with the Administrator account, and you have the complete access.
- Now, ensure that your PC has a stable internet connection.
- Head to Start menu.
- Then navigate to Settings.
- Now Press on the System icon.
- After that, head to Remote Desktop.
- Now click on the toggle button to turn on Remote Desktop function on your Windows 10 PC.
- Go to Show Settings.
- Press on the Select users that can remotely access this PC to add a user.
- Note the Administrator users can access the feature automatically.
If you are running Windows 7 or 8, then download and install the Microsoft Remote Desktop Assistant software on your computer.
Step 3: Developing a Remote Desktop Connection on iOS
Here are the final instructions to connect your iPhone to the Windows PC remotely:
- Open the Remote Desktop app on your iPhone or iPad that we downloaded in Step 1.
- Now Press on the + button.
- Choose Desktop.
- Now enter these required details to connect to the desired computer:
- PC Name: You can either enter your PC name, IP address, and internet domain name.
- User Name: Enter the username of your remote Windows PC.
- Password: It is the same password that you have enabled on your Windows desktop.
- Hit the Save button.
- Now once the connection is established, you can use tap anywhere on your iOS device screen to navigate throughout your computer screen.
- Congrats Now you are connected to your Windows PC remotely.
Daniel Ryan is a creative person who has been writing blogs and articles about security. He writes about the latest updates regarding office.com/setup and how it can improve the work experience of users. His articles have been published in many popular e-magazines, blogs and websites.
Comments
Post a Comment